Why fans use SakuraDIY for custom photocards
Designing a photocard from a blank canvas can be frustrating. You have to guess the right crop, find a border that looks like a collectible card, and keep text away from the trim edge. SakuraDIY solves those small but important problems with photocard-shaped templates, a visible safe area, and direct photo controls. The result feels intentional even when you are making your first card.
The template library is built around fan culture: K-pop frames, concert memories, anime-inspired layouts, gaming cards, and birthday designs. You can browse the public template library, pick a frame that matches your group or era, and open it directly in the editor. The free path is useful for testing an idea; paid export options are available when you want a cleaner HD file without a watermark.
Make a photocard in three simple decisions
First, choose the feeling of the card. A midnight neon frame works for a powerful stage concept, while a soft petal layout suits a birthday or fan letter. Second, choose the photo crop. The image should show the face or the key visual clearly inside the safe area. Third, decide what information deserves space: an idol name, a date, an album title, or a short quote.
SakuraDIY keeps these decisions visible in one workspace. You can move, scale, and rotate the uploaded image, switch between front and back artwork, and use the Borders, Foil, and More tabs without losing the overall card composition. That makes the tool useful for a one-off gift as well as a set of matching fan cards.
A free workflow that still looks professional
The free editor lets you explore the design before paying. You can upload a photo, test a template, and see how the image sits within the card. The preview includes print-safe guidance so important details stay inside the safe boundary. If you only need a personal digital preview, the free export is a practical starting point.
If the design is for a collection, event, or fan project, choose the export path that matches your use. Single HD Export is designed for a small number of polished cards. Pro plans are better for people building a set or running a group order. Every export path is connected to the same design workflow, so you do not need to rebuild your card when you upgrade.
Small choices that improve the final card
Use one strong accent color rather than a different color for every element. Pink, purple, cyan, or gold can each work as a signal for the title and border. Keep the type treatment consistent between the front and back so the card reads as one object. If the image has a bright background, add contrast around the title instead of covering the subject with more decoration.
Before you share the result, look at it as a thumbnail. If the face, group name, and main color are recognizable at a small size, the design is doing its job. Then open the full preview and check the safe area. This quick two-pass review catches most problems before they become an export or print problem.
Choose photos that crop well on a photocard
Portrait photos with clear space around the head and shoulders are the easiest to place inside a narrow photocard. Start with the highest-resolution copy you have and avoid screenshots that already contain interface icons or captions. If the original image is landscape, scale it until the subject fills the card, then move it horizontally to choose the strongest crop instead of stretching it.
Check the front and back together before exporting. The front should communicate the idol, era, or event immediately, while the back can carry a signature-style title, date, short message, or collection number. Repeating one accent color across both sides makes the pair feel designed as a single collectible rather than two unrelated images.
Step-by-step with SakuraDIY
Choose a starting frame
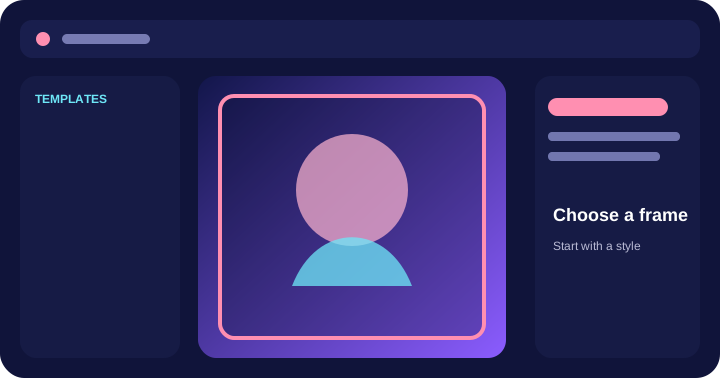
Open the template library and select a frame that matches your concept. Click a card to open it in the editor.
Upload and adjust your photo
Click the photo area to upload an image. Drag to reposition, use the controls to scale or rotate, and keep the subject inside the pink safe boundary.

Preview, then export
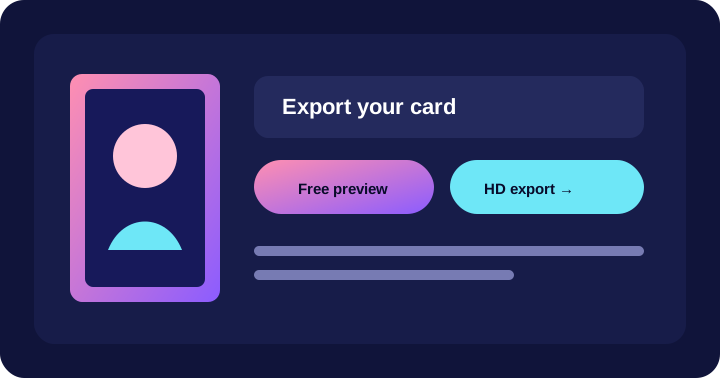
Use the front/back controls and preview before exporting. Download a free watermarked file or choose HD export when you need a clean final PNG.
Frequently asked questions
What size is a K-pop photocard?
The most common K-pop photocard size is approximately 55 × 85 mm, close to a standard trading card. Always check the printer's exact trim and bleed requirements before ordering physical prints.
How can I make photocards for free?
Open SakuraDIY, choose a free template, upload your image, adjust the crop, and use the free export option. A free export includes a watermark and is useful for previews and personal digital sharing.
Can I make a fan-made photocard with the front and back?
Yes. SakuraDIY supports separate front and back canvas states so you can design an idol image on the front and a signature, quote, or foil-inspired design on the back.
Turn your idea into a card.
Choose a template or start with a blank canvas, then make the design your own.